Pages

Sunday, June 7, 2015

Bless This Nest

You guys! One of my dearest friends is about to have a baby! A real life baby.
I remember the exact minute that I met my friend Megan. She is the type of person that is hard to not notice. Opinionated, quick witted, and far from quiet, my first impression was "this girl is a lot".  Four years later, I realize just how much she really is. A lot of honesty, a lot of laughter, and a lot of genuine consideration of every individual in her life. I could have never guessed that the girl sitting across the aisle from me in grad school would soon turn into one of my dearest and most treasured friends. It is one of life's greatest blessings to be able to watch her during this season of life and I cannot wait to see her in her new role as someone very special's mama.
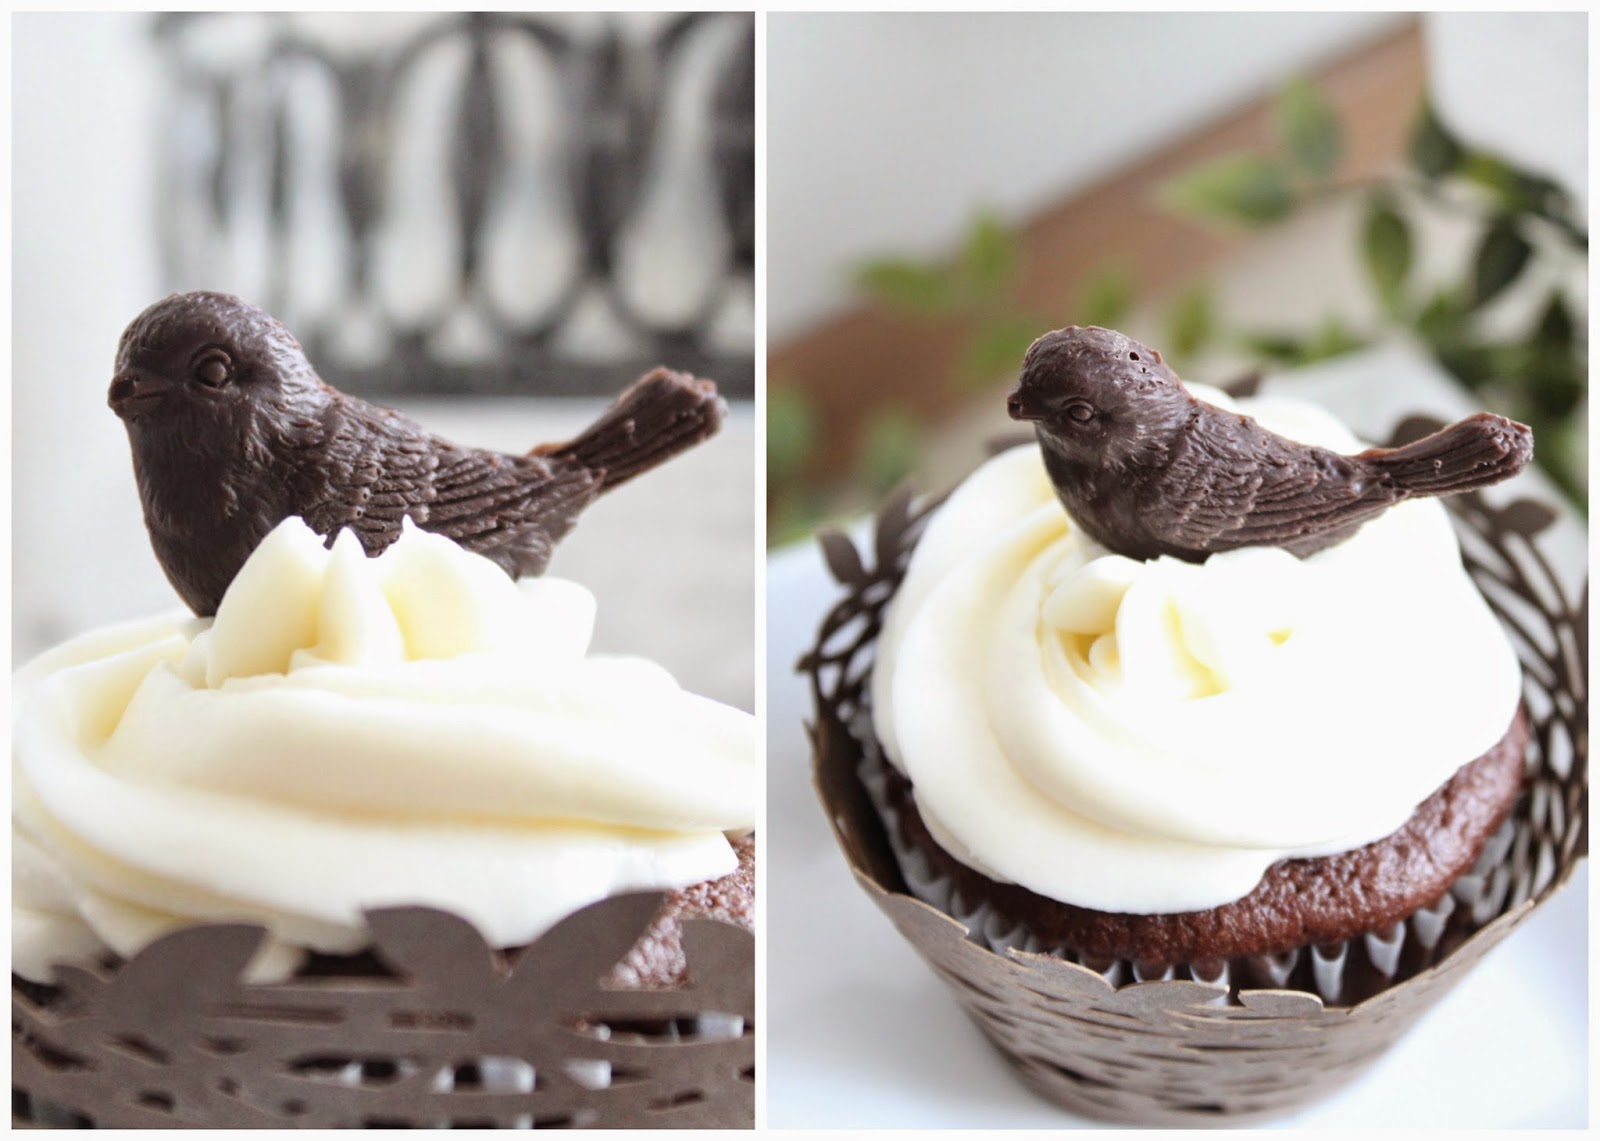
Megan's mother and aunts threw her an absolutely beautiful baby shower and I was lucky enough to get to help make the cupcakes for the event. The shower theme was "bless this nest" and I was super excited about the possibilities this theme opened up for dessert. I ordered a silicon chocolate mold from CakeSuppliesDepot's Etsy shop https://www.etsy.com/transaction/1017701722 and the adorable cupcake wrappers from http://www.fancyflours.com/product/Cupcake-Wrapper-Nest/wedding-party-theme. I was actually surprised how easy (and quick) the chocolate birds were to make and will definitely be utilizing chocolate toppers on more of my cupcakes (so much better looking and tasting than fondant!).
Watching Megan at her shower, it really hit me that in a few shorts months her life would be changed forever by the arrival of her son. In those few hours celebrating Baby O, it became very apparent that Megan was meant to be a mother, among all of the other things that she already is and will become. She was beaming. Megan and Gabe have hearts of gold and I cannot help but think about who their son will become with the two of them as parents.  I am eager for him to get here and to watch him grow into exactly who God intended him to become. What an adventure this will be!

For my shower gift for Baby O, Megan asked if I could replicate a nursery sign that has been floating around Etsy. Instead of buying a used pallet, which I usually do, I hand picked boards at Menards that had the different grains and knots that I wanted to be in the sign. Austin screwed the boards together for me and I picked a color from his stain collection (I used the color Dark Walnut by Varathane).  After allowing the stain to dry, I copied the text that I wanted to use onto white computer paper and used carbon paper to transfer the text onto the board. An evening with some white craft paint and we had a new nursery sign for Baby O. 
Here's to your new adventure, Megan and Gabe! We cannot wait to love on your new babe!

Monday, April 20, 2015

Mexican Quinoa

Every Sunday, I spend a good portion of the afternoon on meal prep. I almost always make the same staples every week and it makes the whole week go a whole lot smoother. I don't have to worry about packing the next day's lunch or rushing home to make dinner after a long day at work. Our meal prep has always consisted of a lot of chicken. We are both kind of chickaholics. That being said, I have been making a conscious effort to integrate a more plant based diet into our routine.  This week, I mixed all of my favorite taco salad toppings into cooked quinoa and loved the results!

Mexican Quinoa
1 1/4 cups uncooked quinoa
2 1/2 cups chicken broth
15oz black beans, rinsed & drained
15 oz frozen corn, thawed
1/2 diced red pepper
4 green onions
1/3 cup chopped cilantro
1 jalepeno, diced (throw in a few seeds for heat)
juice of 2 limes
1/8 cup EVOO
2 Tbs cumin
1/2 tsp salt
1/2 tsp pepper
cayenne pepper to taste

Cook quinoa according to directions, replacing water for chicken broth and let cool. Mix in beans, corn, pepper, onions, cilantro and jalepeno. Squeeze lime juice on top and season!
I will be adding fresh avocado to this mix as I eat it. This is great as is or you could put it on top of a bed of lettuce!

Saturday, April 18, 2015

Pupcakes!

It is Hadley's first birthday! 
I honestly don't know how people do it...you know, not have a dog.  Getting Hadley was unexpected, irresponsible and one of the best decisions we have made since being married. I swear this dog is my zen. Morning coffee, walks, and car rides are all better with my abnormally petite bodied, huge tongued, touchy feely, big baby boxer. I just love this dog. As much as I swore the day would never come that I would be my mother {the crazy dog lady} the day has arrived and I am embracing it whole heartedly. 
I mean come on guys...look at that face!
In honor of this pup's birthday, I trialed the Bowser's Birthday Cupcake Recipe from The Healthy Hound Cookbook. They definitely weren't my normal cupcakes but birthday girl had no complaints! Next time, I'm thinking I might add applesauce or shredded carrots to the batter.
Peanut Butter Pumpkin Pupcakes
1 cup all-purpose flour
1 egg
¼ cup peanut butter
¼ cup Pumpkin Purée (not pie filling)
1 teaspoon baking soda
4 tablespoons (¼ cup) butter, melted
½ cup water
  1. Preheat oven to 350°F. Line 6 cupcake tins with baking wrappers.
  2. In a large bowl, combine all cupcake ingredients, mixing thoroughly.
  3. Divide mixture into cupcake tins. Bake for 10 minutes. Cool completely before frosting.
Pupcake Frosting
4 oz. cream cheese
2 tablespoons plain yogurt
2 tablespoons peanut butter

Mix on medium speed until well mixed. Pipe onto cooled cupcakes.
I used shredded carrots to garnish the top!
Happy Birthday little pup! Thank you for bringing so much joy to us this year! Cheers to puppy love!

Friday, March 20, 2015

Peanut Butter Lovin'

My hometown has an ice cream shop that makes the best peanut butter frozen yogurt ever. Nothing I have had to date really compares. Not too sweet and super peanut buttery. There are times I swear I could drive the two hours just to get a cup of the Uncle Ray's peanut butter frozen yogurt goodness. But, when a craving like this hits, nobody has the time for that kind of drive and so I resort to throwing everything I have into the kitchen aid and cross my fingers that it tastes good on a cupcake. 

I am slowly realizing that playing these recipes by ear doesn't exactly make for the best blog posts. I really have no idea how much of each ingredient I actually put into these recipes. That being said, I think it is kind of fun to not really know, taste as you go, and make it exactly how you want it. 

Here goes a good guess....
Peanut Butter Frosting
2 8oz packages of cream cheese
1 1/2 cups of peanut butter {mmmm...probably more than that though :) }
1 tsp vanilla
1-1 1/2 cups powdered sugar
1/2 cup whipping cream

Mix together cream cheese and peanut butter until smooth. Add vanilla and powdered sugar followed by the whipping cream a tablespoon at a time until you reach your desired consistency. 

I added more whipping cream to this recipe than I do most of my frostings as the peanut butter really thickens the base of the frosting quite a bit. The end product was a peanut buttery mousse whip that wasn't too sickeningly sweet. It even looks like Uncle Ray's soft serve yogurt...I don't hate it :)

I think mini chocolate chips or drizzled chocolate on this frosting would be great as well!

Happy Baking!


Saturday, February 14, 2015

Valentine's Day

Happy Valentine's Day friends! 
Valentine's Day may be an overly commercialized Hallmark holiday, however, I think any reason to celebrate the people you love is a good reason...so bring on the Valentine's lovin'.

 This year was probably my favorite Valentine's Day to date. Austin and I haven't had a weekend off together in an extremely long time so the day seemed especially sweet. We went to breakfast, spent the morning thrifting, and lounged around with no agenda. It was lovely. We also flipped through some of our old Valentine cards. Austin truly has a gift for sniffing out the least romantic cards and can hardly contain his excitement every year when he gets to watch me open the cards while he laughs hysterically....like last year's "I'm still not sick of you card". There was a time (our first year dating)  however, that we took Valentine's day seriously as we both attempted to reel the other in and ensure many years of nonromantic, hilarious, and beautiful Valentine's days spent together.  I made this Valentine's Day Card video that year...

But that was year one...this is year five and year five calls for cupcakes.
I used a chocolate fudge cupcake to start and dipped strawberries earlier in the day using ghirardelli dark melting chips. But the real MVP of this Valentine's Day dessert is the frosting. Oh my goodness...this frosting. I am really excited about this frosting! I never measure out ingredients when I am making frosting as I usually taste as I go but I do think the measurements below are somewhat close to what I ended up using.
Strawberry Cream Cheese Frosting
20 oz cream cheese
3/4 tsp. vanilla
1 cup frozen strawberries
4 Tbsp. heavy whipping cream
 powderer sugar to taste (I used ~1 1/2 cups)

I used my Ninja food processor to puree the frozen strawberries with the whipping cream until it was light and fluffy. I mixed the cream cheese, vanilla, and strawberry puree together and slowly mixed in the powdered sugar a quarter cup at a time. I feel like all recipes I have found for homemade frosting call for outrageous amounts of powdered sugar. I prefer to only use as much as I need to slightly sweeten and  stiffen up the frosting to the consistency I want to pipe onto the cupcakes. For this recipe, I would guess I used, at most, a cup and a half and I am so glad I did. This frosting actually tastes like strawberry cheesecake...not too sweet but so, so good and hands down my favorite frosting I have ever made! The frosting also has a mousse like texture which is great since the strawberry on top makes the dessert a little heavy.
I have made a lot of cupcakes this year but really think these might be my favorite and my Valentine seemed to agree!
Let me know if you try these at home!


Sunday, February 8, 2015

Kid, You'll Move Mountains

When I was in 7th grade, my social studies teacher, Mr. Herbstreit gave me a copy of Dr. Suess's Oh, the Places You'll Go! If you haven't read this, do it. Right now.  I adore this book and have made it the "theme" of my therapy room. I really love the line "KID, YOU'LL MOVE MOUNTAINS" as it reminds me of so many of the kids I treat.  Their little minds are so powerful!

While I found a number of pieces of art on Etsy and Pinterest with this line, none of them were exactly what I was looking for for the room.  And so, let the crafting begin! I bought a frame on clearance at Hobby Lobby and decided to try the Americana Chalk Paint for the first time. I also decided to repaint an old chair my grandma had picked up at a garage sale for me a few years ago.

For the frame, Austin cut me a piece of chalkboard to put inside and I used a chalk pen and chalk to draw the picture that I wanted on the board. 

 I also needed some sort of storage for my treatment room. I LOVED the look of so many of the pieces at World Market and Pottery Barn however, they didn't quite fit my pocketbook. After hitting a few thrift stores, Austin and I found this hutch that needed a little TLC but fit right into my budget. 
Other than refastening most of the hinges, the hutch itself was in pretty good shape. Since I didn't care for the green flimsy particle board backing, Austin put together a few pieces of real wood wainscoting. We stained the wood and nailed the new backing on.
I also was on the hunt for a crank table so that the kids could do activities at a table top and I could adjust the height for each of them. You guys, those things are outrageously expensive. Instead of purchasing a $400+ small crank table, we found a metal stool on clearance at World Market. Austin took off the backrest of the stool and fastened a $6.00 precut piece of wood to the seat. We stained it to match the back of the hutch and it has worked great for the kids!
I had so much fun shopping for my new room and setting it up for the kids! I really like how it all turned out and came together.


Friday, February 6, 2015

Celebrating a Special Friend


I have seen an image floating around pinterest that says, "Everyone has a friend during each stage of life. But only lucky ones have the same friend in all stages of life." Taylor is that friend. We met on the sidewalk in front of my parents' home when I was 6 years old where we both made "peanut butter and jelly sandwiches" with mud and leaves. My entire childhood has memories of Taylor in it and even though we could not be any less alike, I shared a very active imagination and desire to create new things with my friend.  Despite entirely different interests and personalities, my childhood best friend became my college roommate and continues to be one of the dearest people in my life. I am constantly blown away by her creativity, her quick wit, and her deep desire to pursue the people and things that she loves. We don't have many opportunities to spend time together anymore, but when we do, it is as if nothing has ever changed. Her birthday was last week and since this girl is so worth celebrating- cupcakes and a homemade gift were in order. 


I had never purchased washi tape before and found these super cute fabric washi patterns at Michaels.  The wooden skewers I found at hobby lobby and had to cut for size as they were a bit too long for the cupcakes I was making. These little flags were so easy to make and were perfect toppers for some very simple chocolate and yellow cake cupcakes. I cut the washi tape into 3" sections and placed the skewers in the center of the sticky side of the tape.  I then folded the tape in half with the skewer in the middle and cut the ends on an angle. Easy peasy.

These cupcakes were so simple, I was able to send a dozen to a coworker planning a last minute baby shower.


Like I said, Taylor is extremely creative and talented. Her blog http://junkininstyle.blogspot.com is filled with furniture renovations and has been so fun to follow. She shares a dream with her mother of renovating a vintage camper, traveling the country and collecting junk to breathe new life into.  For her birthday, I wanted to make her a quilt that somehow tied in this iconic camper that she and her mom, Amy, have been including in their recent projects and posts. A not so quick trip to Joann's with my husband and a night with my sewing machine turned into the perfect birthday gift for my sweet friend.


Happy Birthday Taylor! Here's to 20 more years of friendship!